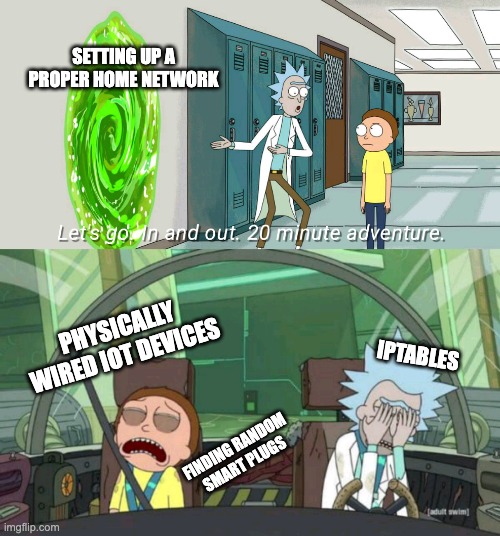
NAT's All, Folks: How I Hardened My Home Network Setup

This project originally began as a way to resolve annoying lag/ping spikes I was experiencing in online games and, well, general internet usage. Originally believing it to be an ISP issue, I decided to switch ISPs (on retrospect it probably wasn’t that but heyho I’m saving a good chunk of money now). However, the new ISP (Sky) supplied a router/modem that didn’t support modem-only mode, meaning I had to double NAT between their router/modem and my existing mesh setup, which isn’t ideal.
Shortly after changing ISPs and still having issues (which I assumed was due to my mesh using wifi backhaul), I hired an electrician to run Cat6 cables outside my house and into my office and lounge, allowing me to use wired backhaul for the routers in the mesh network.
It was at this point I thought - ‘Right, I’m just going to set up a proper home network then, this will be a good learning experience’. To this end I decided to get a 3rd party modem (I went with a DrayTek Vigor 166, which was compatible with the ISP supplied modem and just plug n’ play) to replace the ISP supplied router/modem combo and a newer ASUS router model (with firmware 3.0.0.6) that had Guest Network Pro so I could have a dedicated network for IoT devices.
Why I Decided to Isolate My IoT Devices
I’ll be honest - I’ve always been pretty relaxed about IoT security. I don’t really care if Amazon knows what time I get home from work or when I turn the hot water on so they can send me targetted ads or whatever. I’m (hopefully) not on a watchlist and don’t really need to worry about nation state attackers. I also like to think I’m tech-savvy enough to not click on any phishing emails that might be in my inbox and generally keep my sensitive data to myself.
That said, I’m always up for a good tech challenge and learning experience. The idea of using seperate networks (through VLANs and subnets and suchlike) to isolate my IoT devices from my main network, while still allowing specific, controlled communication when necessary, piqued my interest. It seemed like an interesting project to enhance my network setup and expand my networking skills, even if it might be overkill for my actual needs.
So, I decided to implement this isolation more as an academic exercise than out of pressing security concerns. It was a perfect opportunity to dive into and learn some advanced networking concepts and see firsthand how they work in a home environment.
Step 1: My Adventure with the DrayTek Vigor 166 and ASUS Mesh Network
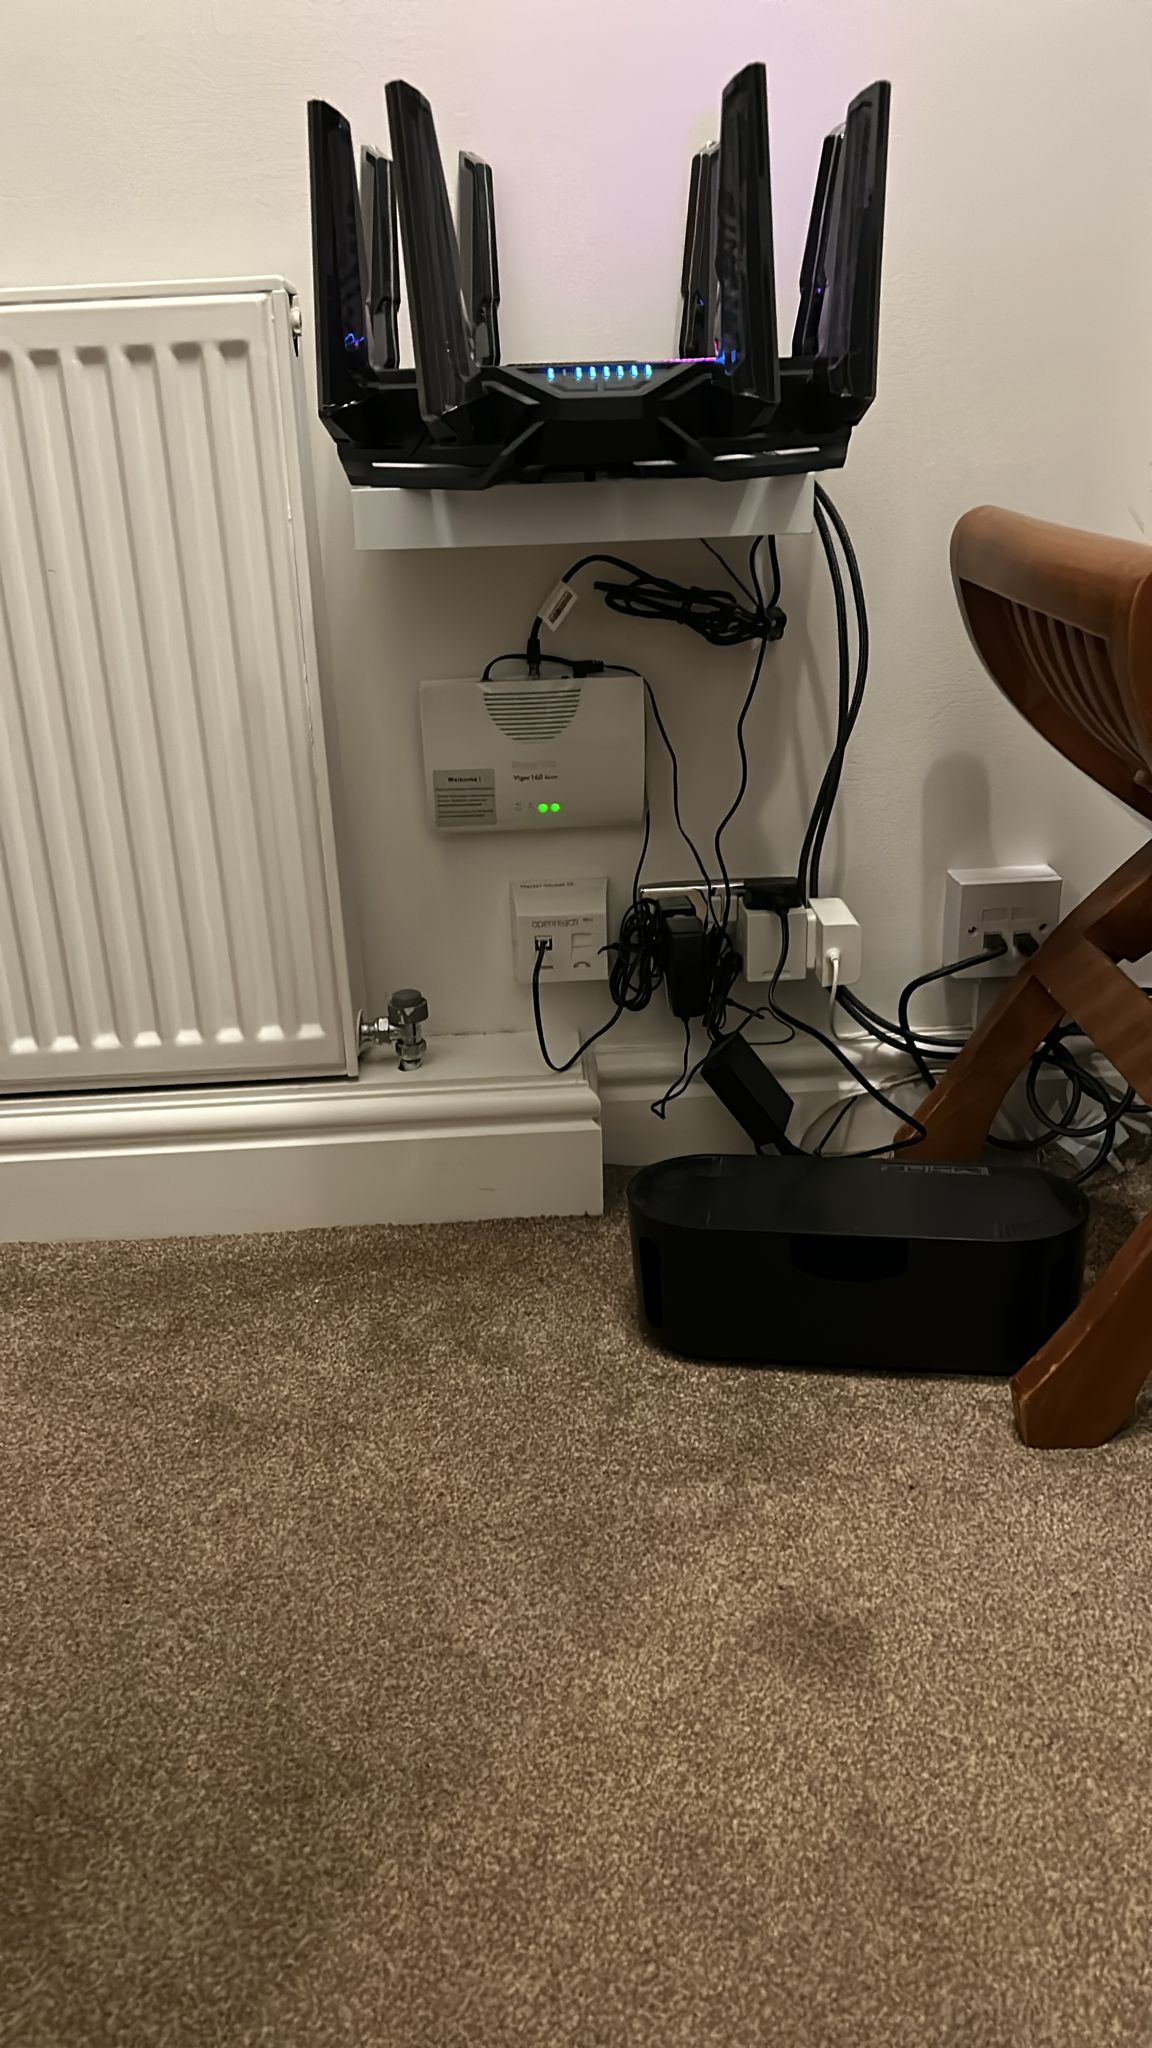
The first major step in my network overhaul was replacing my ISP-provided router/modem combo with a DrayTek Vigor 166 modem and my new ASUS GT-BE98 router. I set up my new ASUS router as my main router and configured the existing additional ASUS routers in a mesh network. This setup allowed my new and shiny and powerful ASUS router to handle all the routing tasks, rather than the old Sky modem/router routing to an ASUS router which then routed again in a double NAT scenario.
Why I Ditched the ISP Router/Modem Combo
- Double NAT: This was actually working fine, but I wanted to separate the modem and router functions to make things neater.
- Suboptimal Performance: I suspected that separating the modem and router functions would boost my network’s performance, especially as I could now leverage the ASUS router’s capabilities to the fullest for routing and DHCP vs the old Sky modem/router combo which was just a basic device for both functions.
Setting Up My New DrayTek Vigor 166 Modem
Configuring the DrayTek Vigor 166 to act as a pure modem was surprisingly straightforward (I think it’s default behaviour to be in bridge mode, and I specifically purchased this one as it was compatible with the Sky ISP/openreach ISPs):
- I connected the DSL line from my wall directly to the DrayTek Vigor 166 using an RJ-11 cable.
- Then, I ran an Ethernet cable from the DrayTek modem to the WAN port on my new ASUS router.

Yeah, I know the cables need proper management!
Yes, that was it. A few moments later I was browsing the web via my ASUS router.
My ASUS Mesh Network Setup
With the DrayTek handling modem duties, I turned my attention to setting up my ASUS mesh network:
-
I configured my primary ASUS router as the main router, connecting it to the DrayTek modem via the WAN port. This router became the brain of my network, handling DHCP, routing, firewall, and VLAN configurations.
-
I reconnected two more ASUS routers (which I already had) as mesh nodes to extend coverage throughout my house. Thanks to my earlier Cat6 cable installation, I was able to connect these via wired backhaul for optimal performance.
Step 2: Creating My IoT Network with ASUS Guest Network Pro
With my new ASUS mesh network humming along nicely, I turned my attention to setting up an isolated network for my IoT devices using the ASUS Guest Network Pro feature, which is available on most newer ASUS routers (to my knowledge, those with the 3.0.0.6 firmware or newer).
-
I logged into my ASUS router’s web interface and navigated to the Guest Network Pro settings and followed the on-screen instructions to set up the IoT network. It created a new subnet for me: 192.168.52.x (as opposed to the main network’s 192.168.50.x subnet) and assigned a VLAN ID of 52 to it (I assume cleverly to match the Class C subnet it was using of
192.168.52.0/24?). -
Now, here’s where I employed a bit of a hack to save time. I really didn’t fancy the idea of going around my house, hunting for every smart device to reconnect it manually. I was reminded of that famous bash.org quote:
“I’ve lost a machine.. literally lost. it responds to ping, it works completely, I just can’t figure out where in my apartment it is.”
So, instead of creating a new network for IoT devices, I used the SSID and password/security protocol of my existing network for the new IoT network. This meant all my IoT devices automatically connected to the new, isolated network without any manual intervention.
-
Then, I created a new network with a different SSID and password for my main devices (phones, laptops, desktops etc.). It was much easier to connect these few devices to the new network than to reconfigure all my IoT gadgets and potentially “lose” some in the process.
This approach saved me a lot of time and hassle. All my IoT devices were now on the isolated network, and I only had to update the network settings on a handful of my main devices. It beats having to explain to my partner why I’m crawling around behind the TV stand at 2 AM looking for that one smart plug I know I put there somewhere!
Step 3: Wrangling Wired IoT Devices with a TP-Link Managed Switch
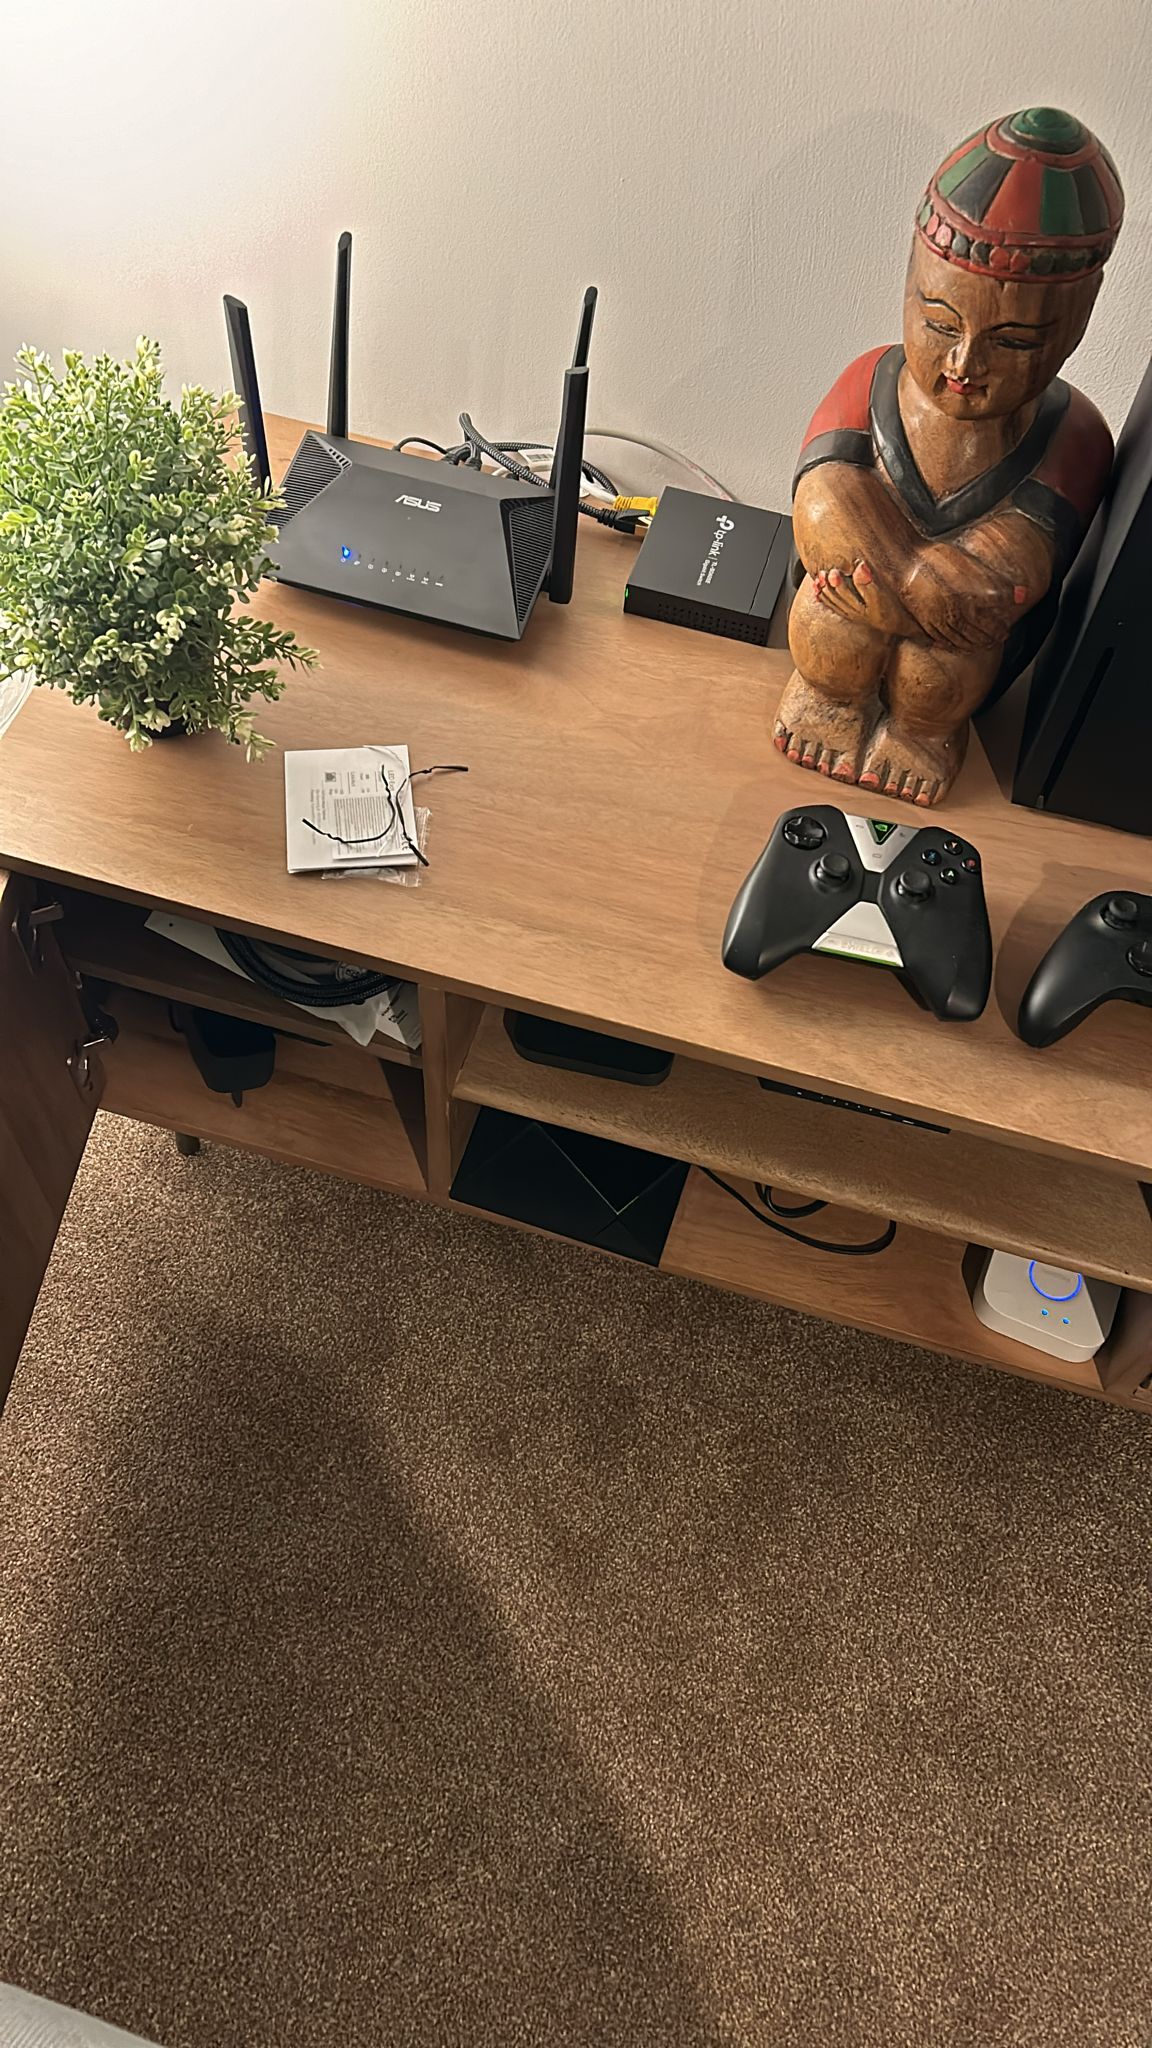
While the Guest Network Pro feature took care of my wireless IoT devices, I still had some wired IoT gadgets to deal with (looking at you Phillips Hue Bridge). That’s where my TP-Link 5-port managed switch came in handy, allowing me to place these wired devices onto the IoT VLAN (VLAN 52).

Here’s how I set it up:
-
First, I needed to ‘find’ the switch as I didn’t know its IP address and it wasn’t showing up in the router’s network map. I downloaded TP-Link’s Easy Smart Configuration Utility, which scanned my network and showed me all connected TP-Link devices.
- I accessed the switch’s interface via the utility and created VLAN 52 for my IoT network. Then I configured the ports:
- I set the port connected to my node router as a trunk port, allowing both VLAN 1 (main network) and VLAN 52 (IoT network) traffic.
- The ports connected to IoT devices were set as access ports for VLAN 52.
- Finally, I set the PVID (Port VLAN ID) of the IoT device ports to 52. This ensured all traffic from my wired IoT devices was assigned to the IoT VLAN.
Step 4: Enabling Controlled Communication with iptables
The final piece of the puzzle was allowing limited, one-way communication from my main network to the IoT devices (like my network printer). For this, I turned to iptables on my ASUS router.
Here’s what I did:
- I SSH’d into my ASUS router:
ssh <router-username>@<router-ip-address> -p <router-ssh-port>
- Then, I added these iptables rules:
# Allow traffic from main network to IoT VLAN
iptables -I FORWARD -s 192.168.50.0/24 -d 192.168.52.0/24 -j ACCEPT

# Allow established/related return traffic
iptables -I FORWARD -m state --state ESTABLISHED,RELATED -j ACCEPT

# Block unsolicited traffic from IoT VLAN to main network
iptables -I FORWARD -s 192.168.52.0/24 -d 192.168.50.0/24 -m state --state NEW -j DROP
These rules allow my devices on the main network to initiate communication with IoT devices, but prevent IoT devices from starting connections to the main network.
Conclusion
Looking back, this project turned out to be quite the adventure in home networking. What started as an attempt to fix some gaming lag turned into a full-fledged network overhaul. Sure, it took some time and effort to set up, but the learning experience was invaluable. Plus, now I have a network that’s not only faster and more reliable but also significantly more secure. Not bad for what started as a quest to improve my gaming experience!